

My Capture One Pro + Affinity Photo Workflow
Take your architectural photos to the next level by using the two most powerful editing programs available - Capture One Pro (v12) and Affinity Photo. In this tutorial I show you my simple architectural photography workflow while editing an image in Capture One Pro and then doing the finish work in Affinity Photo - no Photoshop needed! Knowing how to edit your raw photos is an important step to delivering great photos to your clients.
Adobe Photoshop may be considered the industry standard and go-to software for many creatives, but I have always had a hate/love/hate relationship with Photoshop and Lightroom over the years. It’s often buggy, sluggish (no matter how maxed out my computer is), and never gives me the absolute image quality I know my cameras are capable of - and that I demand.
Enter Capture One Pro and Affinity Photo, two powerful programs that not only give Adobe a run for their money, but vastly outperform the offerings from Adobe on so many levels - in my professional opinion.
Today I will be discussing how I use both Capture One Pro and Affinity Photo to produce the work that you see on my website, and will take you behind the scenes a little bit to show you my process while editing an image I photographed at the Egg Harbor Library shoot featured in the video linked here: Egg Harbor Library
Watch My Video Tutorial Below

Now, before I actually dig into this edit I’d like to mention three things that I love the most about Capture One Pro:
The first is the Image Quality. No matter what camera I’ve ever shot with from any brand, Capture One Pro has always delivered the finest image quality out of my raw files - especially when I’m working with the Fujifilm X-Trans files.
The second is Layers. The fact that I can work in layers within a raw file editor is a game-changer. While I know that in Lightroom you can add brushes and range masks, they just give you these little dots to manipulate and there's no way to name or organize things. So it becomes really painful, and as most people know Lightroom is slow when adding or manipulating multiple brushes. Capture One doesn't ever seem to slow down when I'm adding additional layers for the kind of edits I make.
Third is the Color Control. I love the color editor tool and that I can do luminosity masking within this program. It allows such a fine level of color control that I am able to do the majority of my work within Capture One Pro and then I finish my work in Affinity Photo.
Of course there are many other reasons that make Capture One superior to other raw file editors, but those are my top reasons.
Let’s get into the edit and begin!
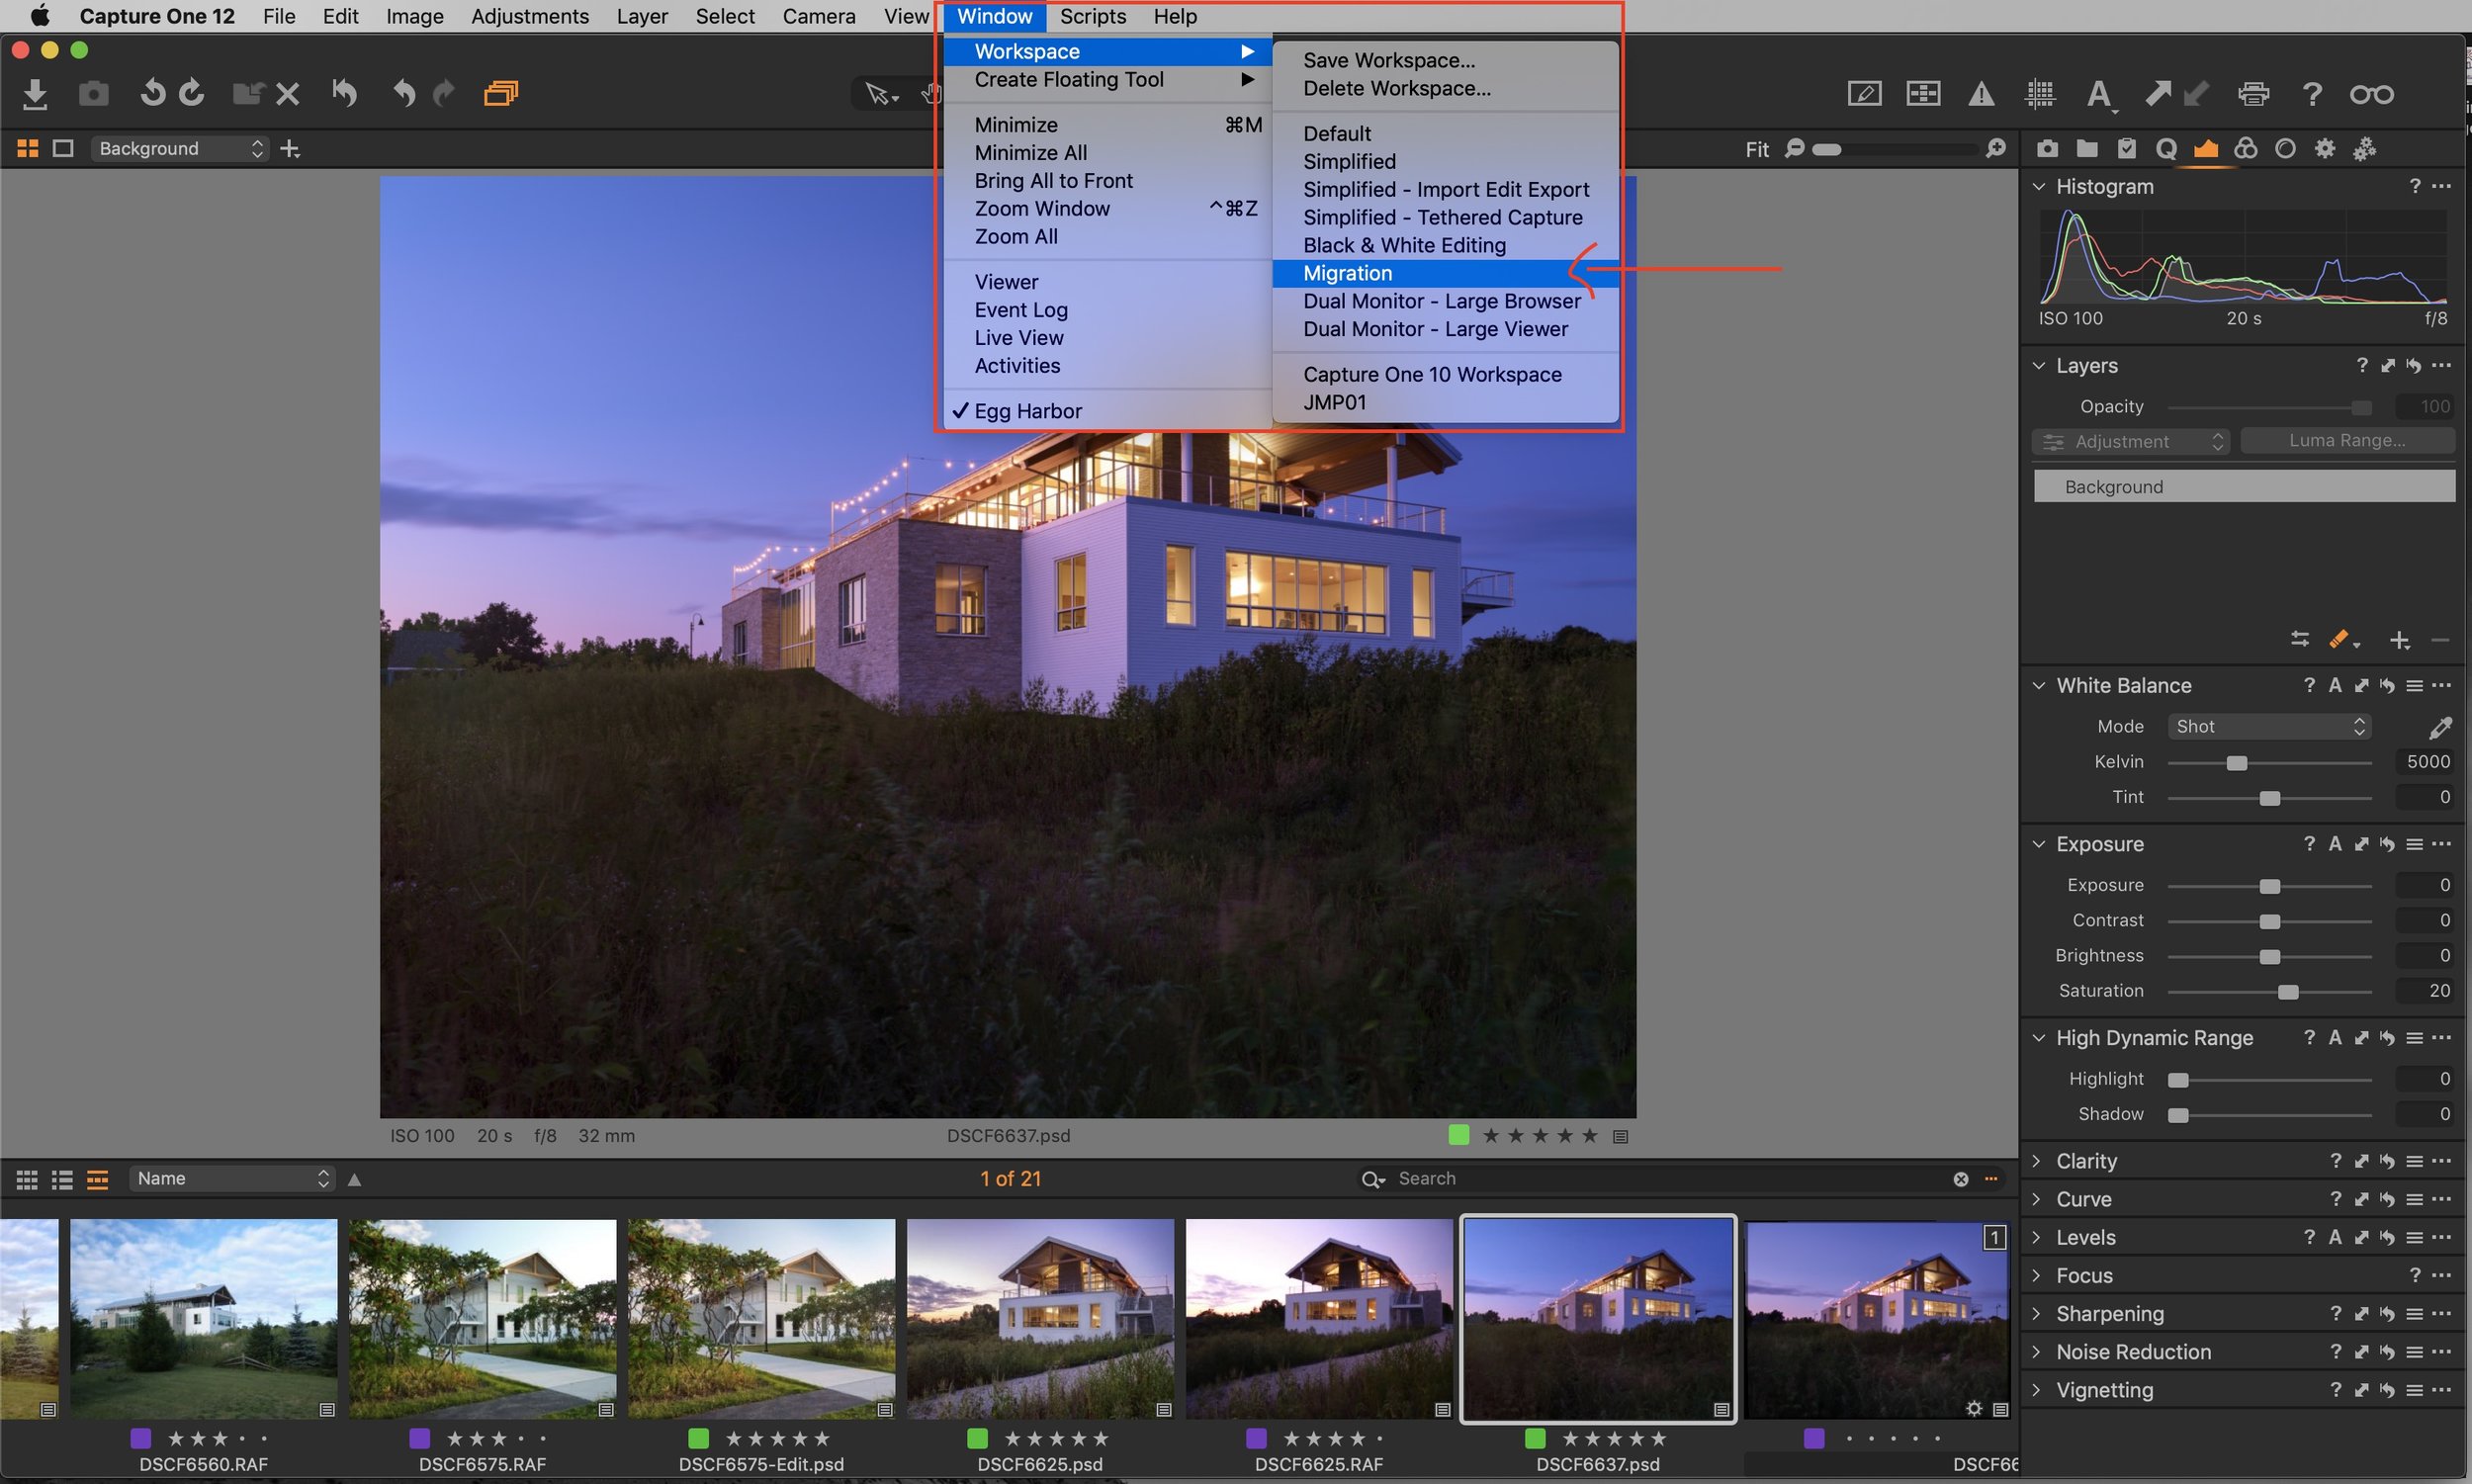
![**You may notice that my capture one looks a bit different than what you might see if you've downloaded the trial [HERE] or if you’ve stuck with the default workspace that ships with the program.](https://images.squarespace-cdn.com/content/v1/525378d0e4b0d49865bdfa93/1554752966233-CBILWKT62CM3E7Q9VUPX/001+C1+ScreenShot.jpg)
**You may notice that my capture one looks a bit different than what you might see if you've downloaded the trial [HERE] or if you’ve stuck with the default workspace that ships with the program.
In Capture One you can customize the layout of your tools and your tool tabs however you want - another great reason to love C1. When customizing C1 to the way I prefer to work, I first chose the ‘Migration’ workspace which is very similar to how Lightroom is configured, and then I customized everything to have all the tools that I specifically need in the places and order I prefer.
To learn more about how to customize your workspace, see the learning hub over at Capture One.
As you can see below, this image is pretty much good-to-go straight out of the camera (gotta love that GFX file quality!).
As a proof image I think it's beautiful as-is, but it does need a bit of love to bring it to final.
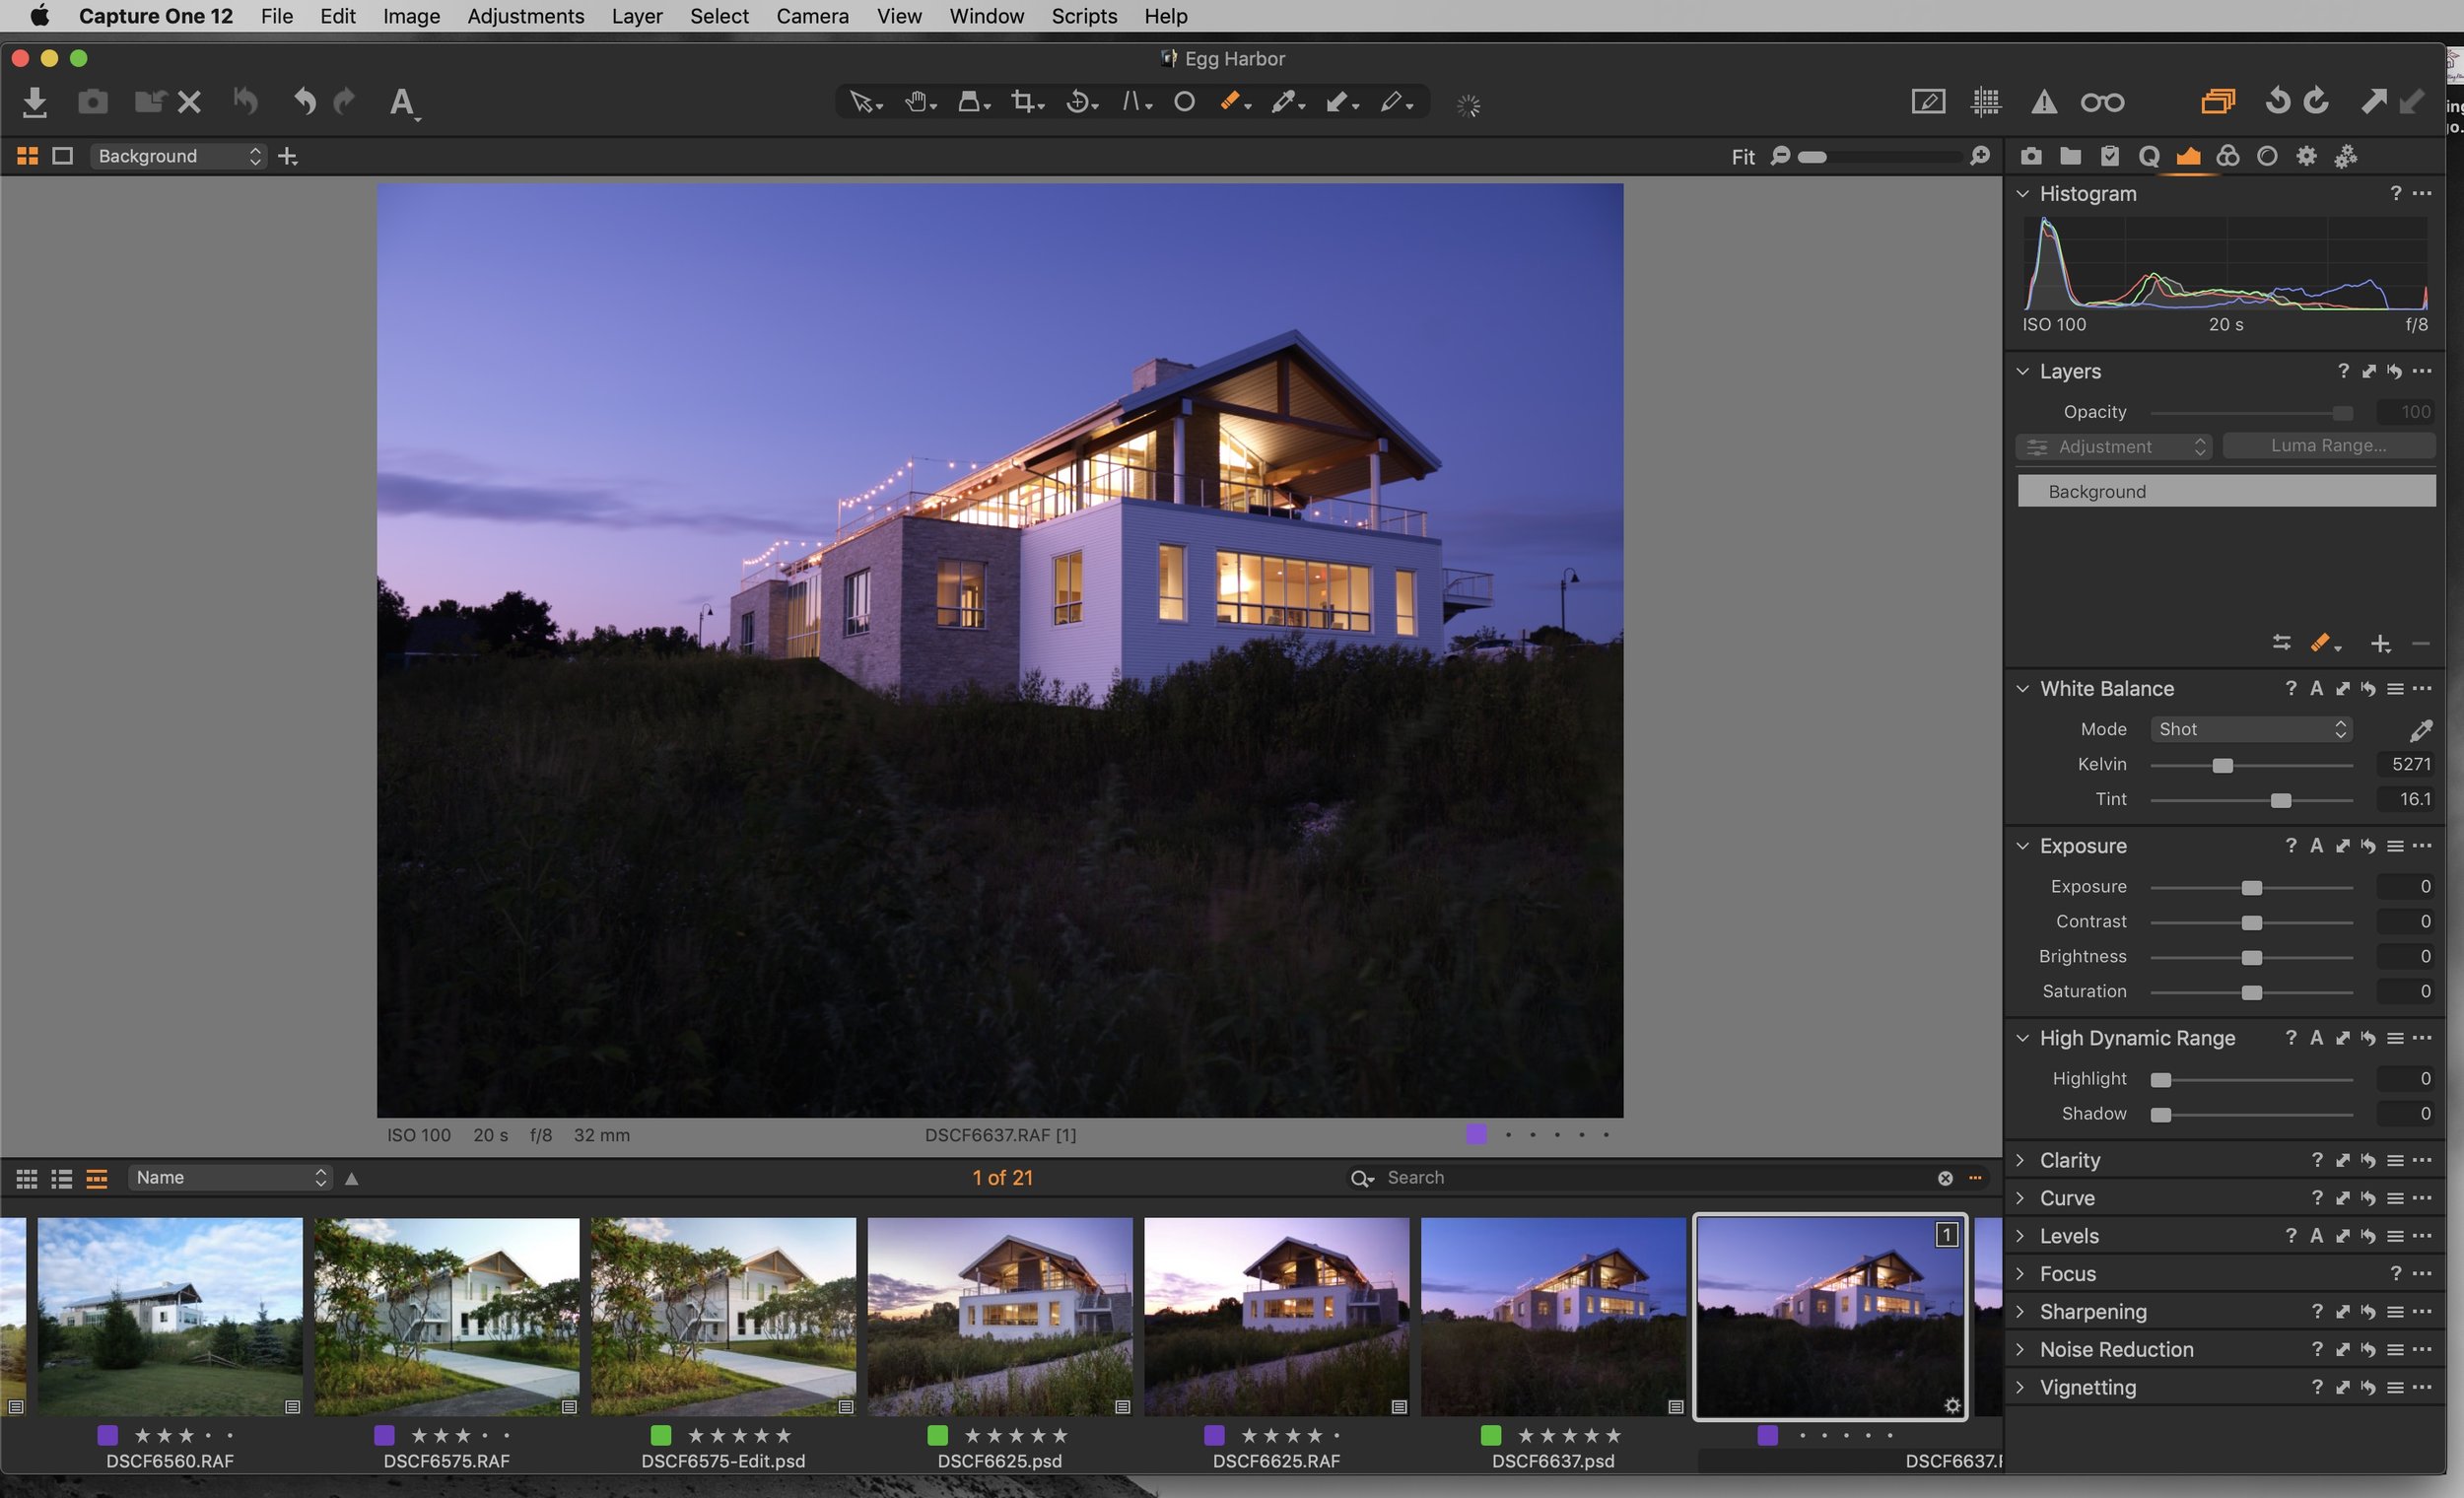
My goal with this edit is to bring out the emotion from this photograph. Currently it's lacking in some saturation, and in that atmospheric drama that was present when I captured the image.
My first step is to change the curve in the Base Characteristics panel to one of the film presets that come with Capture One
(assuming you’re using either the Full Version of C1 or the Fujifilm version).

For this image I will be using the Provia / Standard curve as this is based on the GFX 50s film simulations and is incredibly accurate to the film simulation you would get on a Fujifilm camera when shooting in jpg.
I'm also seeing some blown highlights from the interior lighting.

To fix that I simply go to the high dynamic range slider and pull those highlights down by increasing the slider to 100. This brings everything down to a manageable level. I will lift the shadows a little by increasing the slider to 15 as well.
From this point I’ll increase the clarity a little bit by adjusting the slider to 15 as well, keeping the Method set to Natural.

Helpful Tip: See these little reset buttons?

If you click and hold on option or alt while clicking on the reset button you can preview your changes for that particular tool without messing up your settings. It’s a handy little before/after feature in Capture One.
You can also do the same with the large reset button in the top toolbar.

We're already getting pretty close to what I want the final image to look like but I need to adjust the white balance a bit to warm things up a little.

Setting the Kelvin to 5800 and the Tint to 13 does the trick for me and I think this image is looking much closure to my goal.
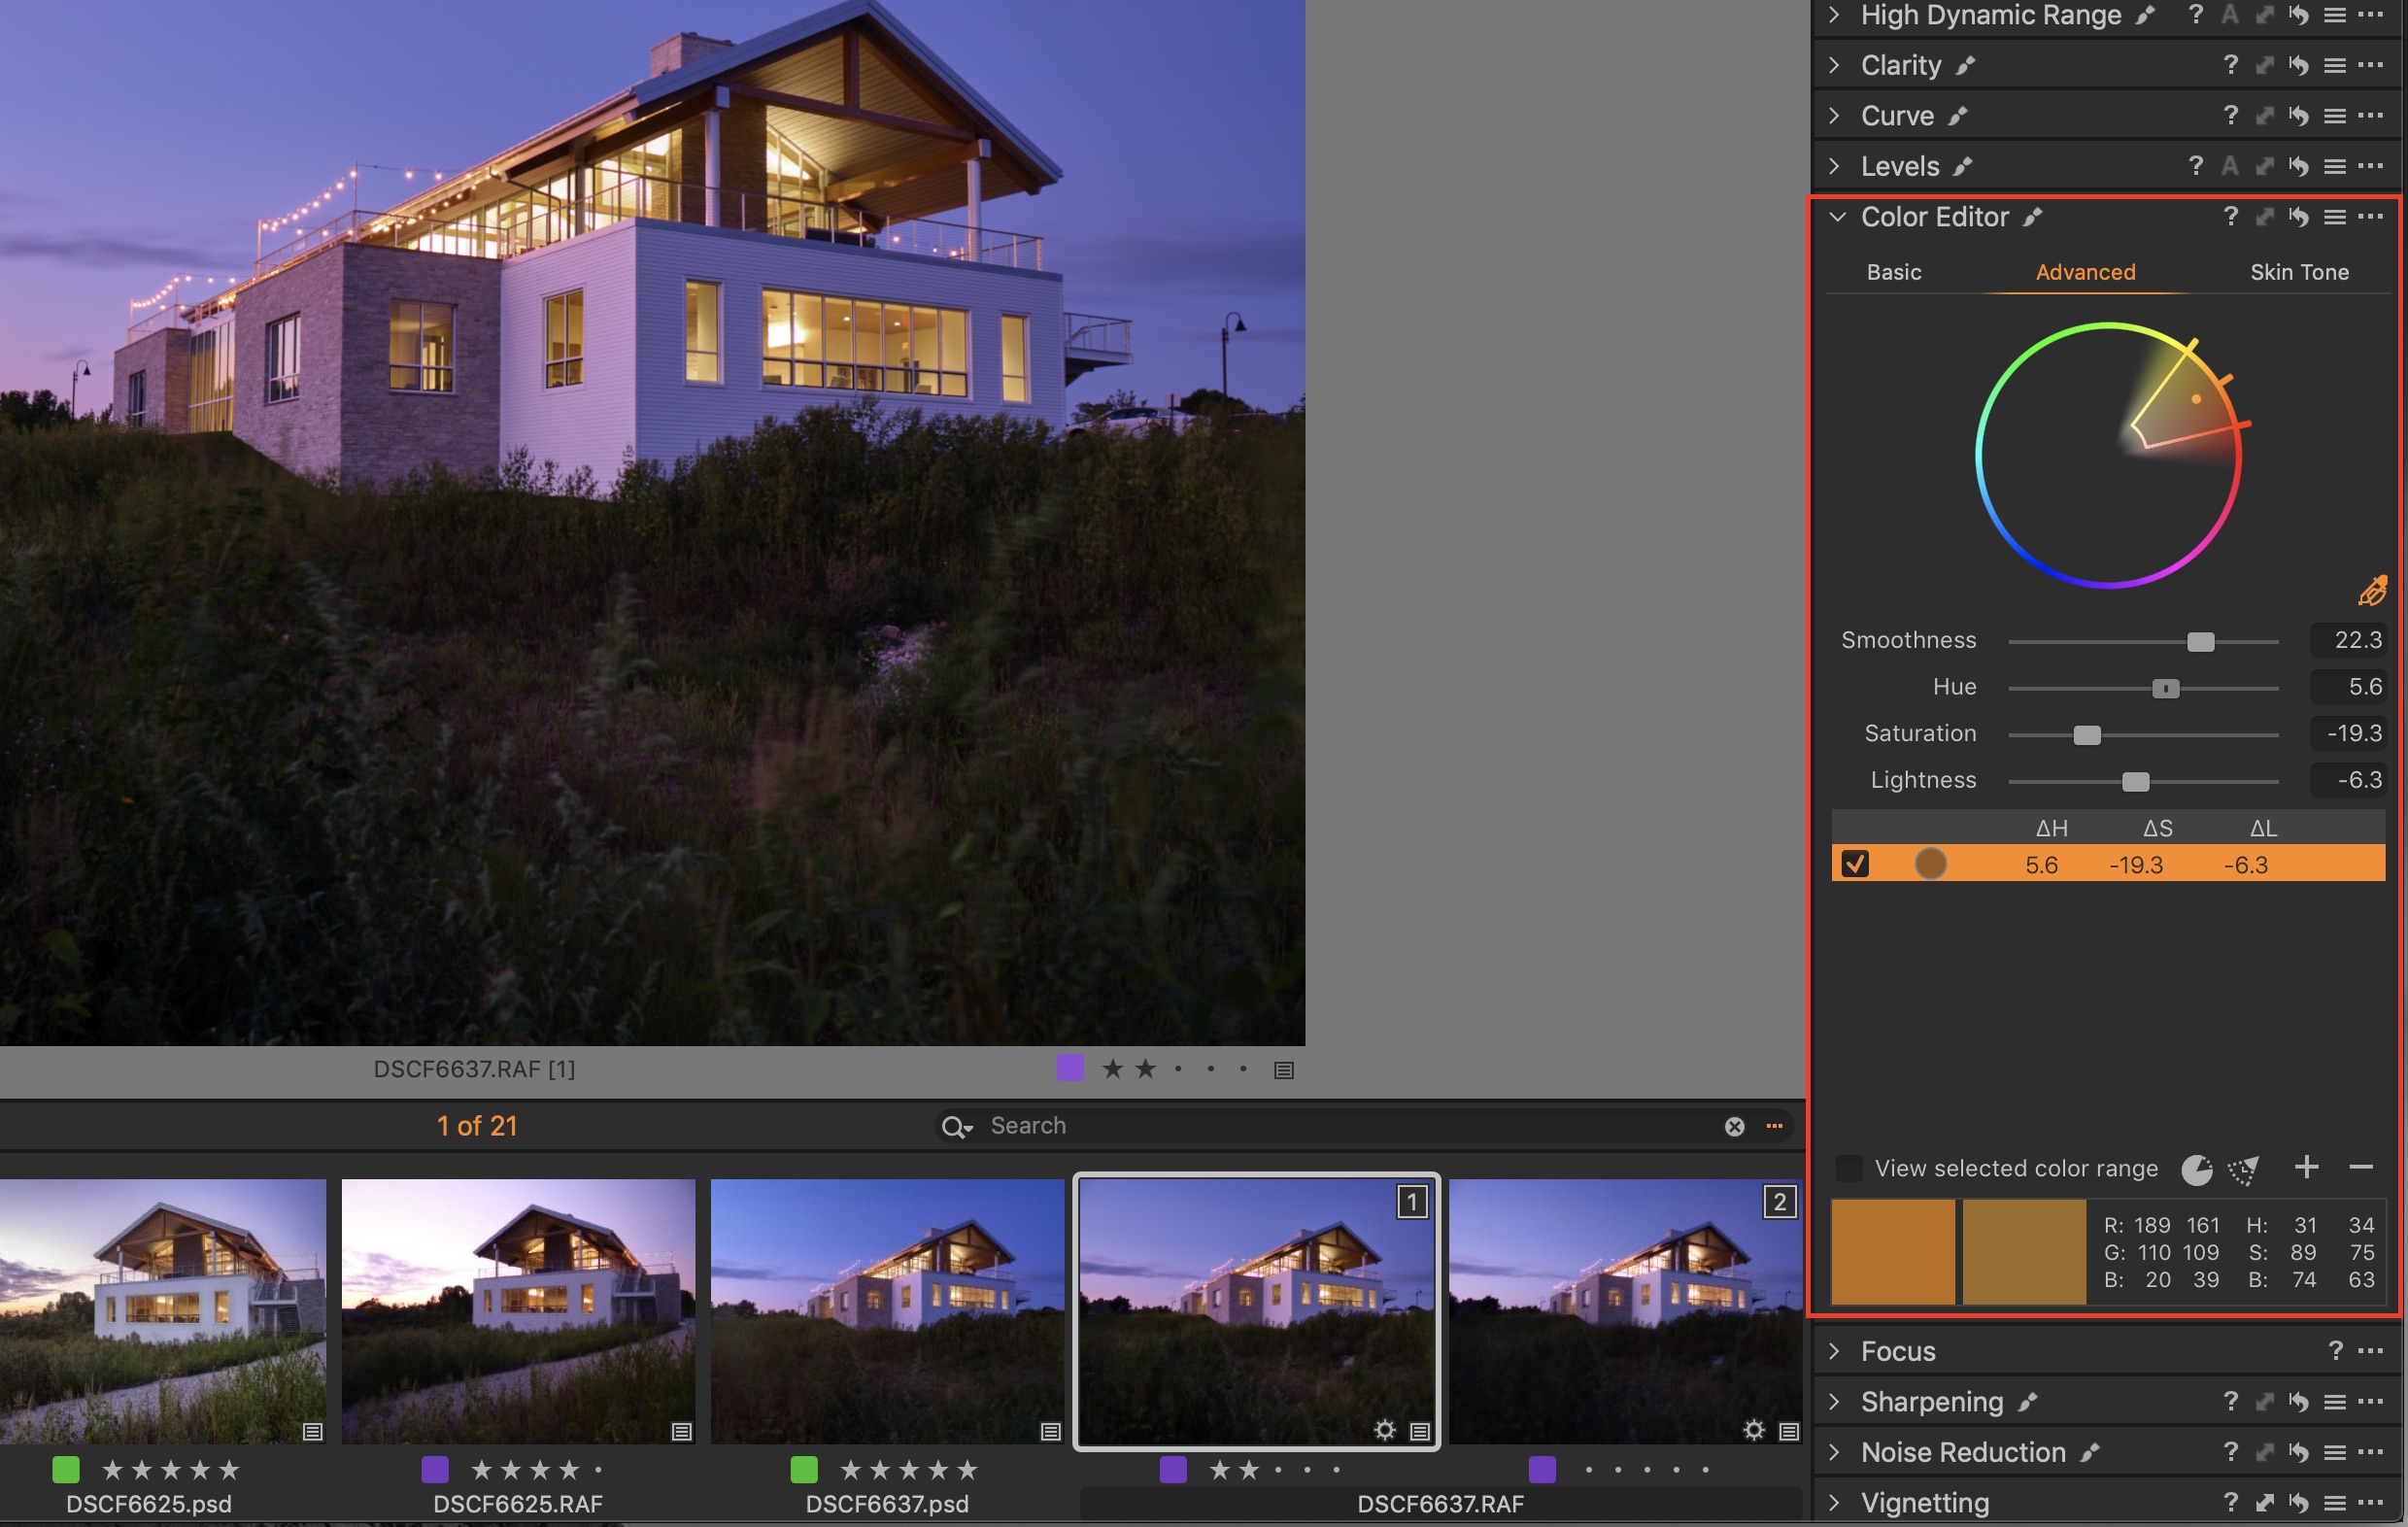
Next step is to create a filled layer …

Let’s call it “Yellow Lighting” and go to the Color Editor, select the “Advanced” tab and grab the eyedropper - which allows me to select the specific color range I wish to edit.

Here I will desaturate those yellows just a little as well as change the hue because I want the lights to look more natural. I also pulled the lightness down some in order to minimize the blown highlights more.
Going back up to the “Layers” tool panel and making sure my layer is selected, I hit the “M” key on my keyboard to reveal the mask. As you can see, my mask is covering the entire image - so the color edits I just made will affect the entire image, but I only want them to affect the lighting.

Clicking the “E” key on my keyboard brings up the Brush Tool in Erase mode. And if I right-click on my mouse I can adjust the various brush settings (similar to Photoshop and Affinity Photo).

Setting my brush to 55% opacity, I erased the areas of the mask I don’t want affecting the image. The goal is to keep in the warmth of the sky and of the grass in front while reducing the yellows from the interior lighting.

Happy with that I select the Background layer and open the “Exposure” tool panel and adjust the saturation to +20. Then I added a new gradient and in the “Levels” tool panel I increased the black point just a little bit to help draw the eye up into the building.

I'm very happy with the way this is looking so far and how the bottom of the image is darker warmer, and is drawing the eye up into the the building.
But those yellow lights are still bugging me and need to be toned down a little more. To do this, I add an empty layer and call it “Yellows 2” and basically will brush in a mask over the yellow areas.

I’ve turned off ‘auto-mask’, set my hardness to zero, and my opacity to 75 percent. I also turn the mask on (“M” key) so I can see where I’m painting.
Going back to the “Color Editor” tool panel, I select a dark orange color to adjust. Pushing the sliders around I make the orange more yellow and less saturated. This helps make the lighting look more natural to me.
This photo is almost ready to finish!
But I first need to correct for perspective by using the Keystone tool.

As of this writing there are no native perspective control lenses available on the Fuji GFX - c’mon Fuji, we pros are hungry for more GFX lenses.
Preferably the kind that tilt and shift… ; )
Clicking on the Keystone icon brings up two vertical lines with circles on each end. Just drag these to the outer points of the building (zoom in to make sure you’re lined up with the edges correctly) and click on Apply in the center. Once corrected I used the Rotation & Flip tool to level the image a bit more.
Now that I have my perspective corrected this image is ready to finish in Affinity Photo.
There are two ways to send this file to Affinity Photo:
In the menu use the following path: Image > Edit With > Affinity Photo
-or-
Right Click on the image thumbnail and choose Edit With > Affinity Photo
Doing either of the above will prompt the following dialog giving the option to choose either TIFF, JPEG or PSD format.

I always choose PSD, 16-bit, Adobe RGB, resolution at 300 and then I will either leave the scale at 100% or choose a custom size depending on my intention for the final photo. For this image I left it at 100%.
Clicking “Edit Variants” will open your file into Affinity Photo with all your Capture One edits applied to the image.
Here's how things look in Affinity Photo
![If you’ve never played with Affinity Photo, you will see that it is very similar to Photoshop. I found it was very easy to begin working in Affinity Photo and would highly recommend you download a trial [link here] and get your hands on it. I’m sure…](https://images.squarespace-cdn.com/content/v1/525378d0e4b0d49865bdfa93/1554755424244-UG66J63V0ZVYRH7V1WW1/020+C1+ScreenShot.jpg)
If you’ve never played with Affinity Photo, you will see that it is very similar to Photoshop. I found it was very easy to begin working in Affinity Photo and would highly recommend you download a trial [link here] and get your hands on it. I’m sure you'll find that you really enjoy it too.
My first step in Affinity Photo is to begin cloning out various items I find distracting - such as the lamp posts, the rocky area in the center of the image, parked cars, exit sign, etc.

To do this I create a new layer and call it “Clone”. Then I select the most powerful retouching brush I have ever used - Affinity Photo calls it the “inpainting” brush. It beats anything I’ve used in PhotoShop. And just like other brush tools, you have the ability to adjust opacity, hardness, size, etc.

To remove the areas I find distracting I simply paint over them with the “inpainting” brush and let Affinity Photo do its thing.

Make sure you watch my tutorial video on YouTube to see just how good this brush is.
Almost done…

I'm super happy with the way that this photo looks so far, but there's just a few further tweaks that I'd like to make to really finish this off by using Adjustment Layers.
Clicking on the adjustment layers icon and then choosing “Levels” will create a layer mask which will allow me to make adjustments non-destructively because I can always double-clicl that adjustment layer and tweak my edits, or just delete that adjustment layer altogether.

I increased the gamma just a hair and brought up the white level just a little to brighten up the whites on the building. Then I increased the blacks for added contrast. Now I will fill this layer with black to hide my edits so I can brush in only the areas I want these settings to affect.

Choosing my brush tool I reduce the hardness to 15%, set my opacity to 82%, and brush in along the white areas of the building. This has the same effect as dodging and burning but with greater control.
Now there's one final thing that I like to add to my exterior photographs, and that is a little bit of atmosphere by adding in a solar flare. Basically, I like something that just cuts into the lens a little bit from the direction of the sun to add in that emotion. I have a stock library of solar flares and atmosphere that I've created to be used as overlays to help finish my images.

For this photo I’ve added a solar flare layer (above) and in the image below set the layer blend mode to “screen” and set the layer opacity to 15%.

And here’s the final image!

I love how the final step above added some emotion to this image and gave it a more cinematic look. It also looks closer to how I remember it when I captured the scene.
Now that I am happy with the image, I save the .psd file in Affinity Photo which is automatically updated in my Capture One Pro library. Once I am done working on my clients selected images, I export those selects from within Capture One Pro based on the file parameters my client prefers.
And that’s my basic architectural editing workflow…
As you can see, the majority of the work is done within Capture One Pro and then I round-trip into Affinity Photo for the finish work. It is an incredibly simple yet powerful workflow that provides me with the greatest level of control to provide the highest image quality to my clients.
If you found this post helpful, please consider subscribing to my YouTube channel and be on the lookout for more content and tutorials I will be creating. Also, feel free to contact me if you have any requests or questions and I would be happy to help you.
Thank you and have a great day!

MY EDITING SOFTWARE
Capture One Pro (v12) - https://captureone.sjv.io/3LBZB
Capture One Pro FujiFilm (50% Off) - https://captureone.sjv.io/c/1407301/5...
Affinity Photo - https://affinity.serif.com/en-gb/photo/
TUTORIALS I RECOMMEND
Capture One Tutorials - https://captureone.sjv.io/c/1407301/5...
Affinity Photo Tutorials - https://vimeo.com/channels/affinityphoto